Mileage Management

Mileage management is an add-on module that requires an account with "System Administrator" privileges to enable it in the ServiceJDC management web portal.

Note: upon activation, you will be eligible for a complimentary one-month trial. The trial allows access for up to two users and begins immediately upon activation.

1. Log in to ServiceJDC (the web version) as an administrator. You can directly access your account information by clicking "Upgrade/Purchase" in the upper right corner of the page or by clicking the arrow in the upper right corner and selecting "Account Information" from the drop-down menu.


2. Find the "Mileage" option within the add-on modules and click "activate" to activate mileage management.

3. You can now start using the various features of mileage management.

Note: If you only need to use the "attendance check-in/out" locations as the starting and ending points for mileage calculation, you don't need to set default starting/ending points.

1. To set the starting point, log in to ServiceJDC (the web version) as an administrator >> Mileage >> Mileage Settings >> Mil Location to add destination locations.

2. Create a new mileage group in Mileage >> Mileage Settings >> Mileage Groups. You can select the "Default Starting Point" and "Default Destination" for this mileage group. These settings will determine the starting and ending points when calculating mileage for this group.

Yes, you can. If you only want to use "attendance check-in/out" locations as starting and ending points for mileage calculation, there's no need to set default starting/ending points.

If the mileage group is configured with a "Default starting point," the system will automatically identify the first check-in point as either a task check-in or an attendance check-in. If it's an attendance check-in, the system will use it as the starting point for mileage, bypassing the default starting point. (If it's a task check-in, the default starting point will be used.)

Yes, it's possible. You can set this up by logging into the ServiceJDC (the web version) as an administrator or mileage group manager account. Then go to Mileage >> Mileage Settings >> Mileage Groups.

In the "Default Destination" settings, you can configure the "Auto-punch Time." If a user doesn't perform an attendance check-out within this time frame, the system will use the "Default Destination" as the mileage ending point. However, if the user performs an attendance check-out or task check-in after the auto-punch time, that will be used as the ending point.

Yes, it will. If a user performs an attendance/task check-out after the "Auto-punch Time," the system will consider it as the mileage ending point.

To use the mileage form, you need to purchase the approval management add-on.

1. Log in to ServiceJDC (the web version). You can directly access your account information by clicking "Upgrade/Purchase" in the upper right corner of the page or by clicking the arrow in the upper right corner and selecting "Account Information" from the drop-down menu.

2. To enable approval management, set the number of approvers in the basic configuration. This will allow you to use approval management for a one-month free trial.

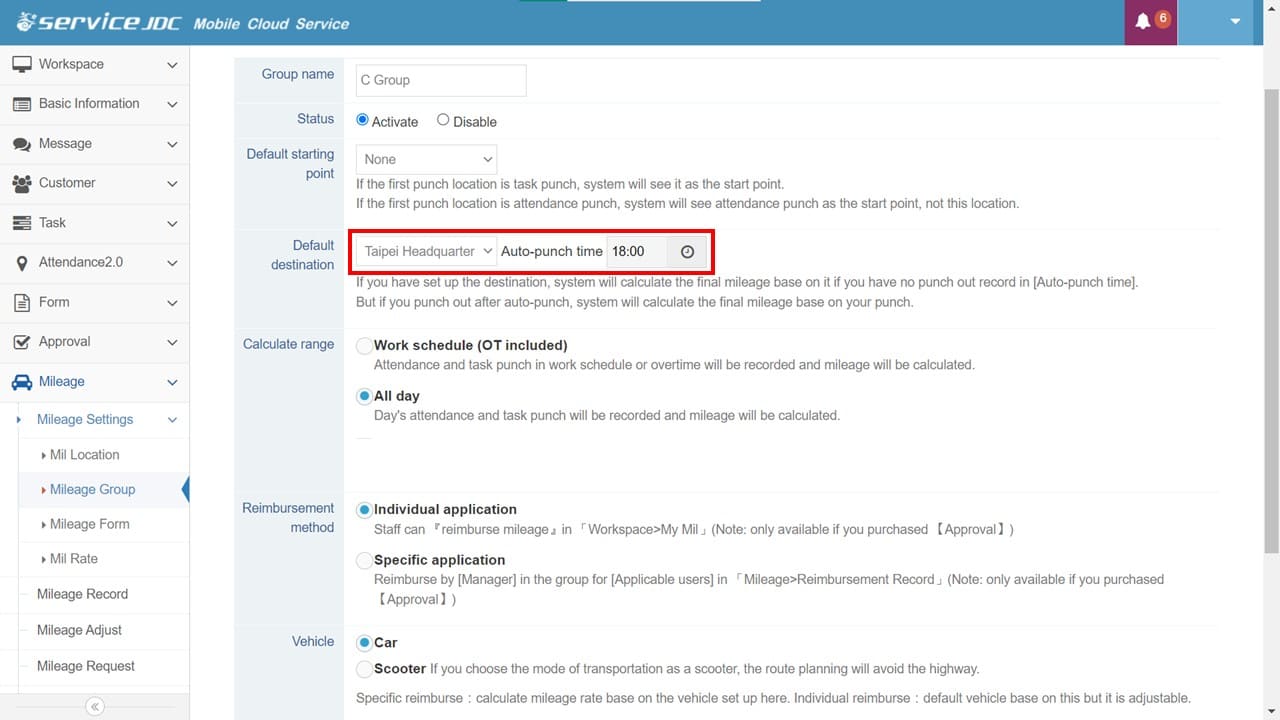
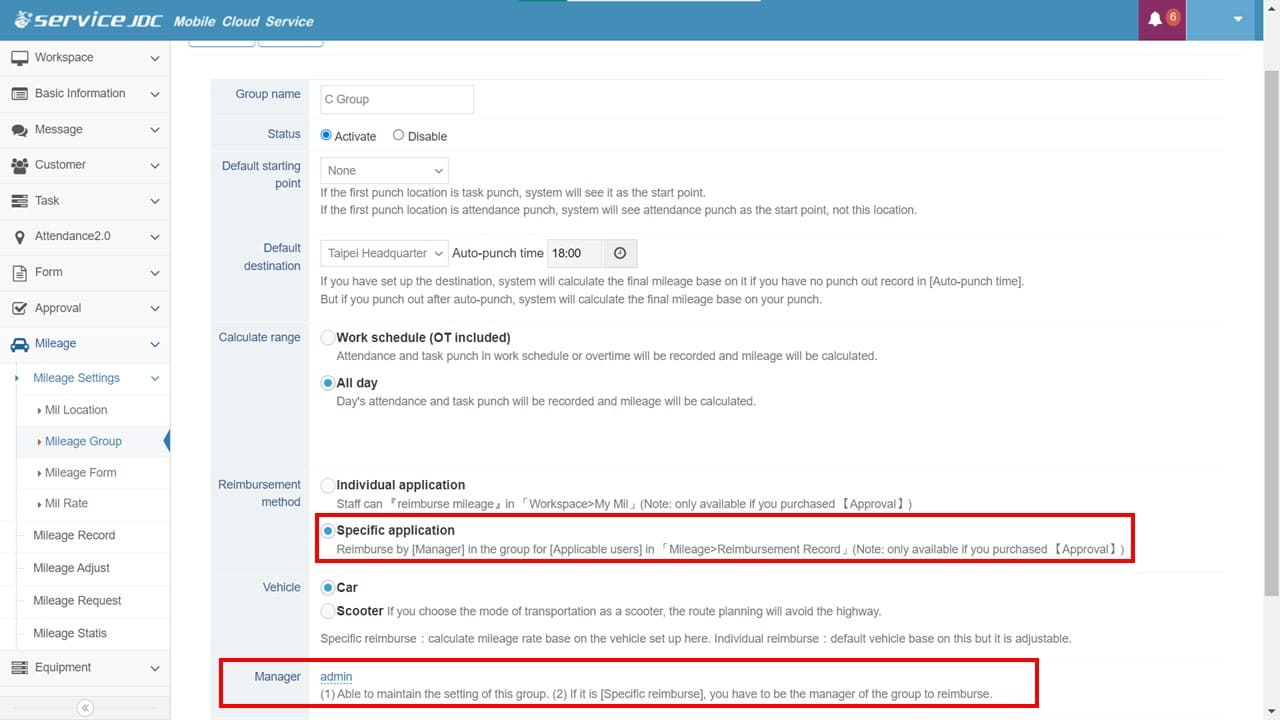
Yes, the ServiceJDC mileage reimbursement can be set up for either "Individual" or "Specific Individual" mode. To have mileage reimbursement applications unified under specific individuals, select the "Specific Individual" mode.

Note: In the "Specific Individual" mode, mileage cost calculations are based on the transportation mode set within the mileage group and cannot be adjusted.

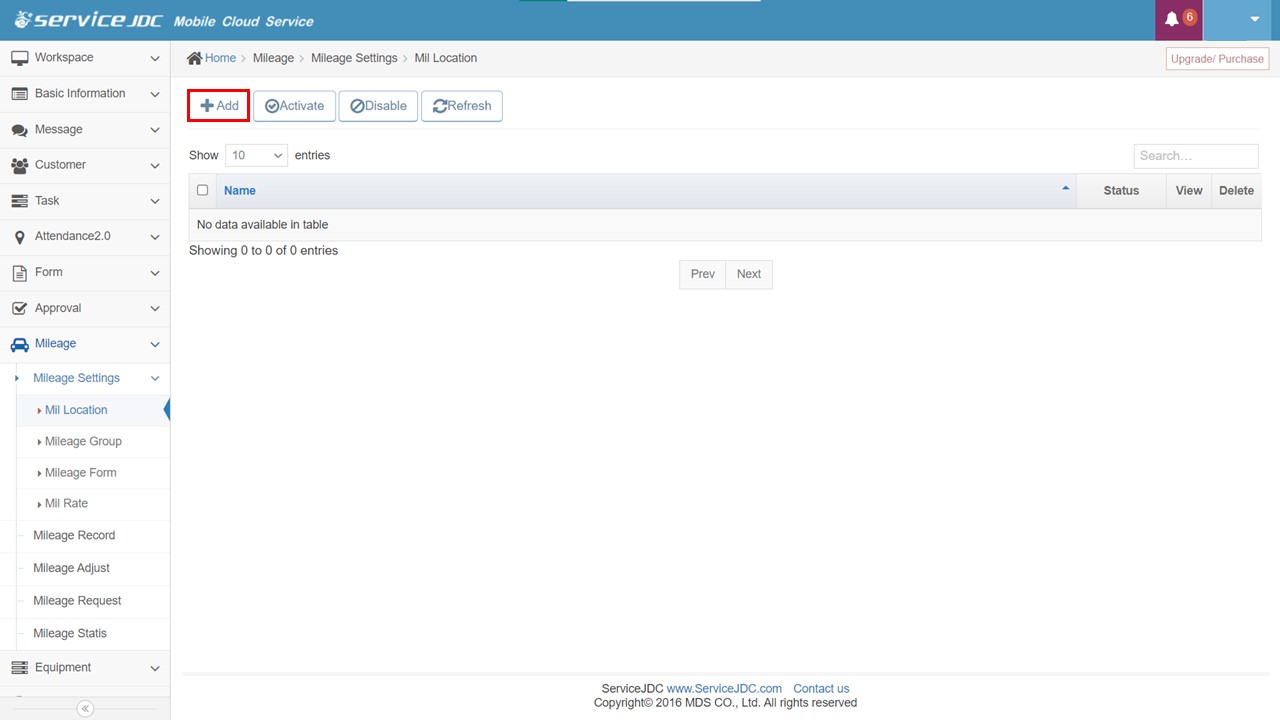
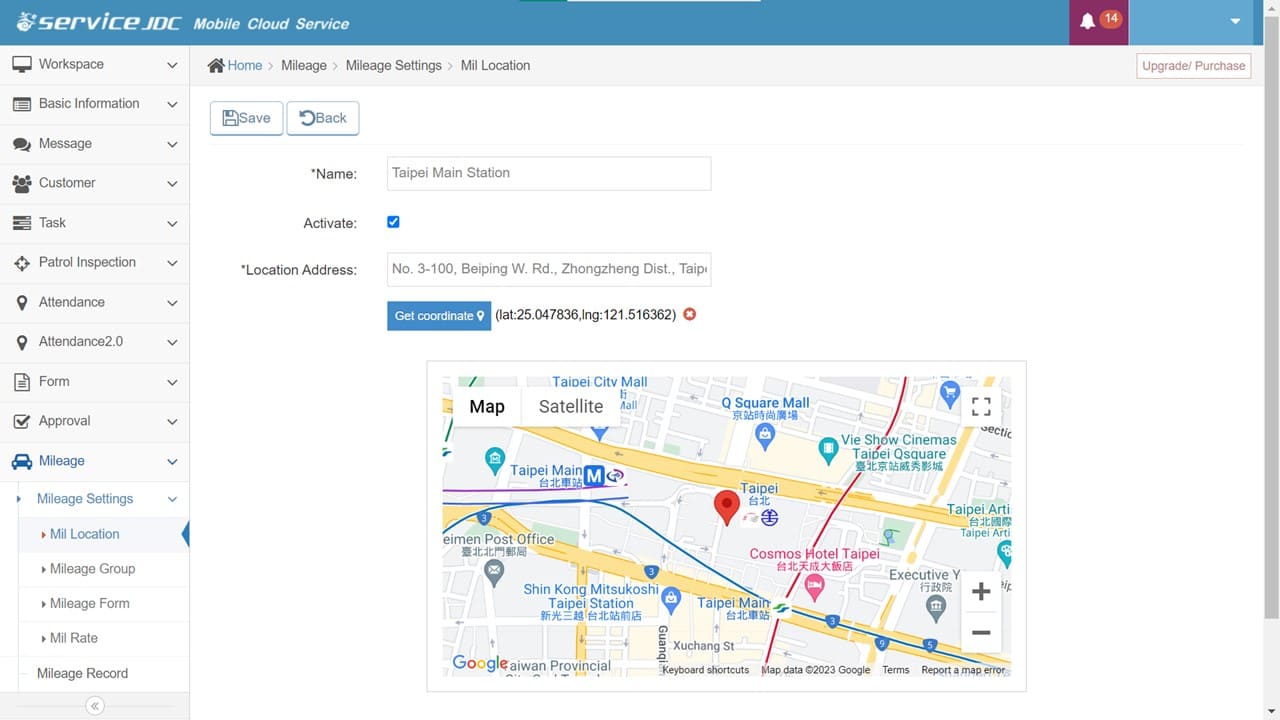
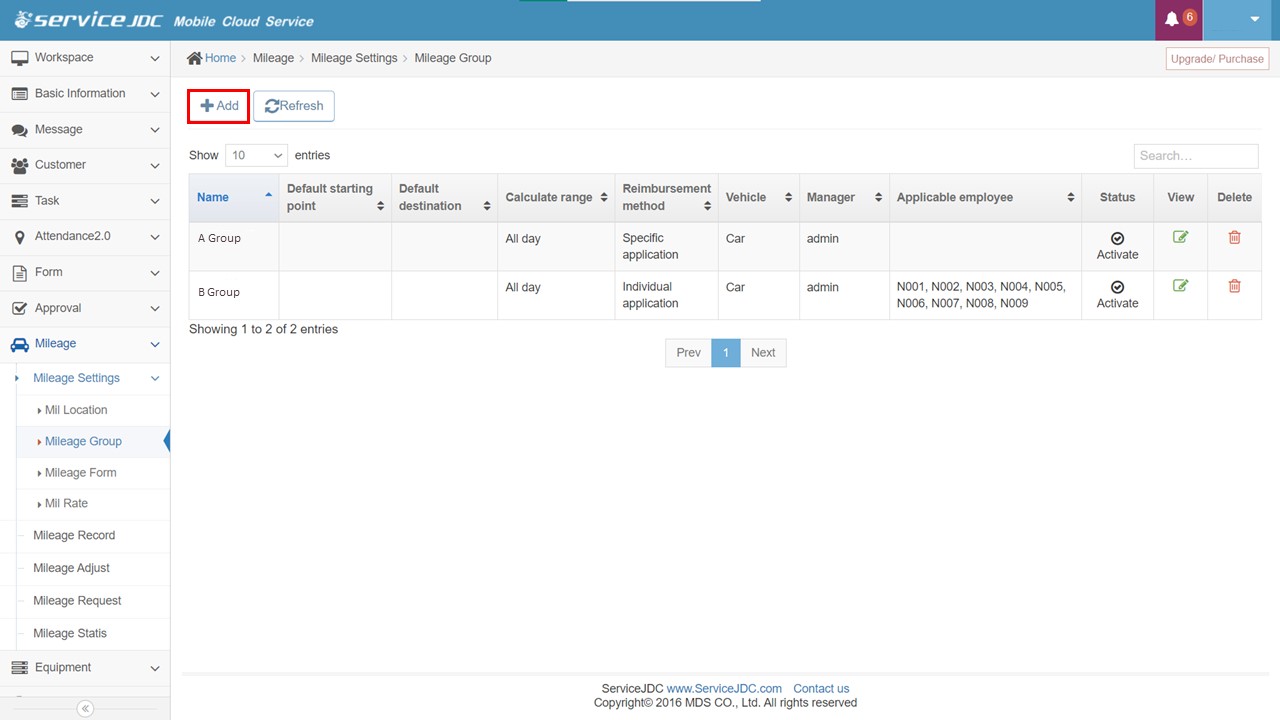
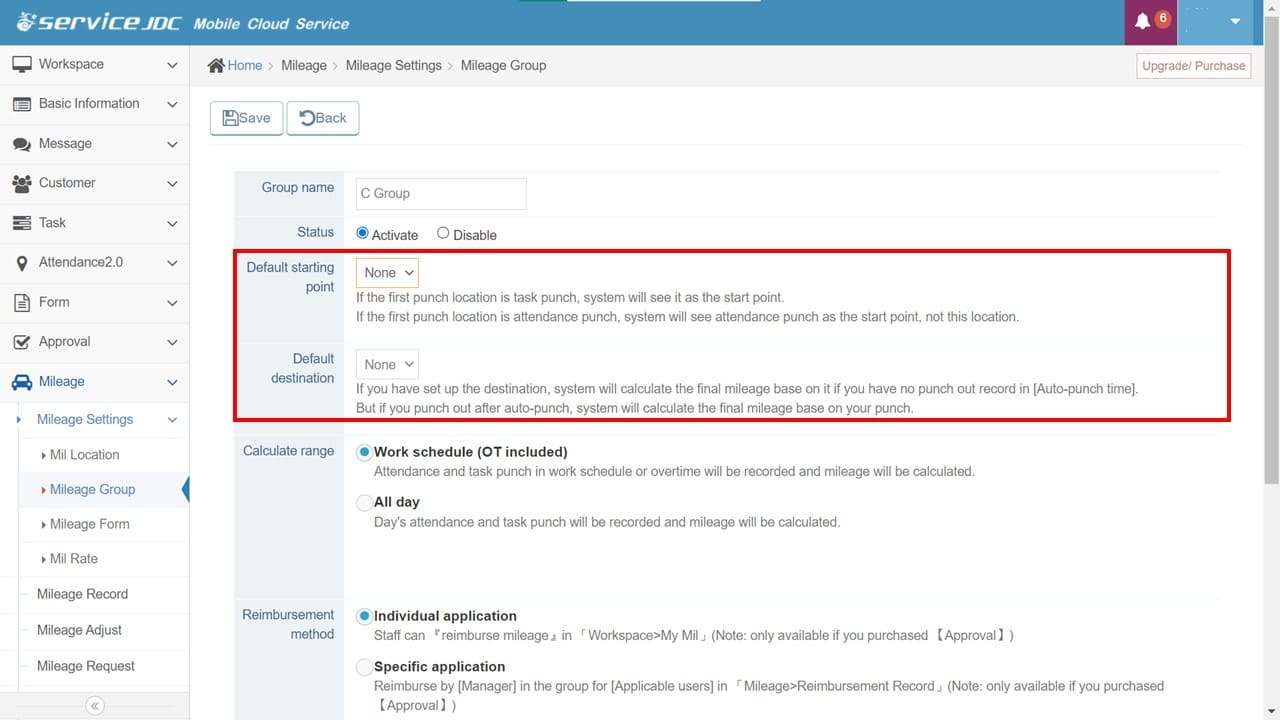
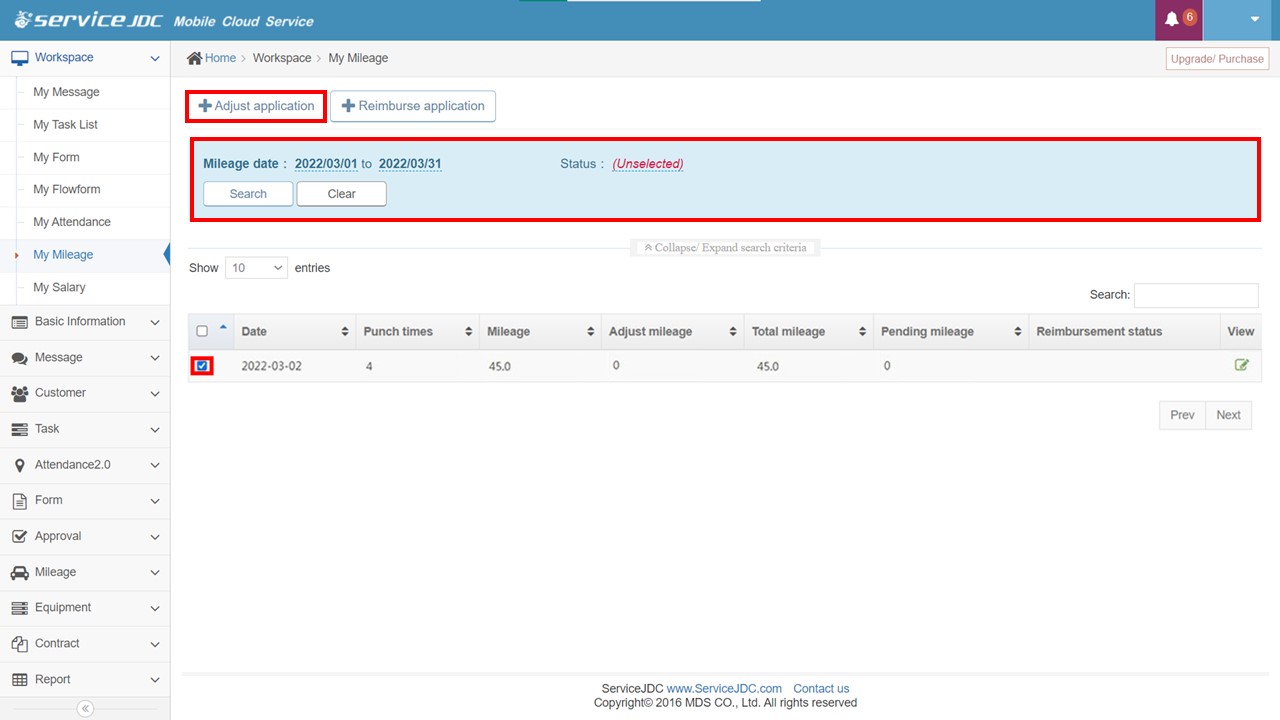
1. Log in to ServiceJDC (the web version) >> Mileage >> Mileage Settings >> Mileage Groups. Set the reimbursement method to "Specific Application." Then, select the Manager.

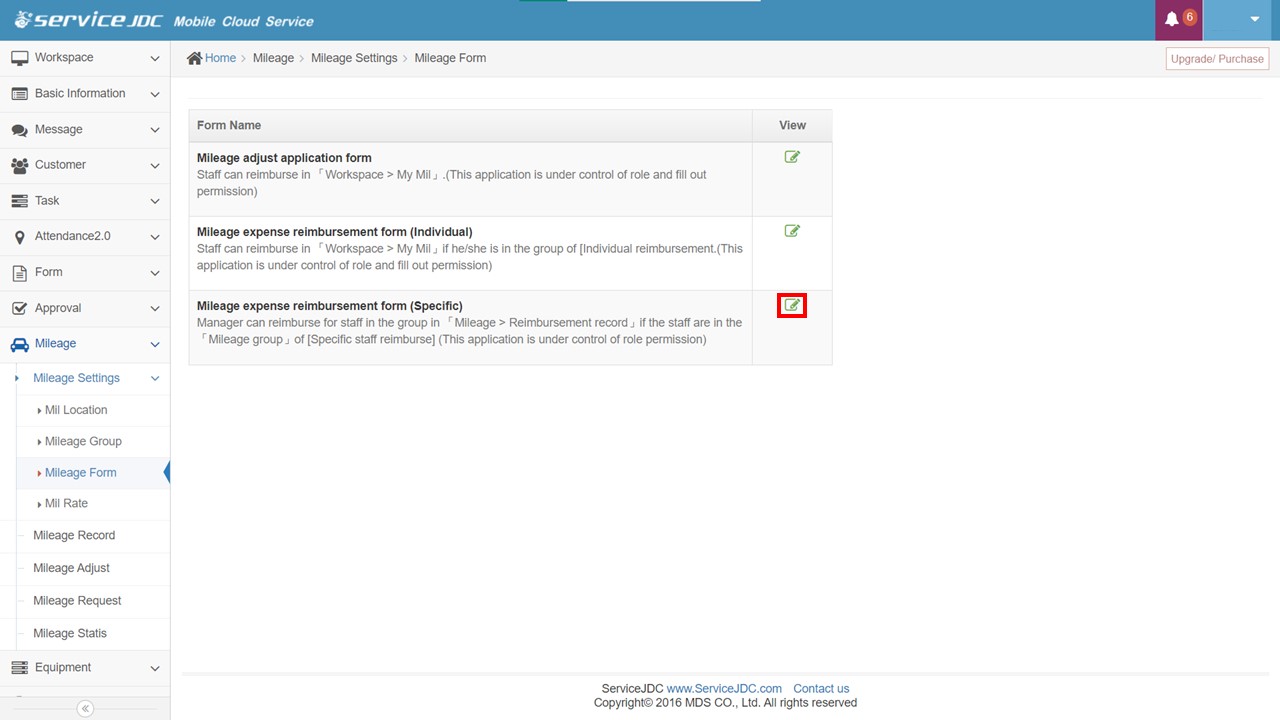
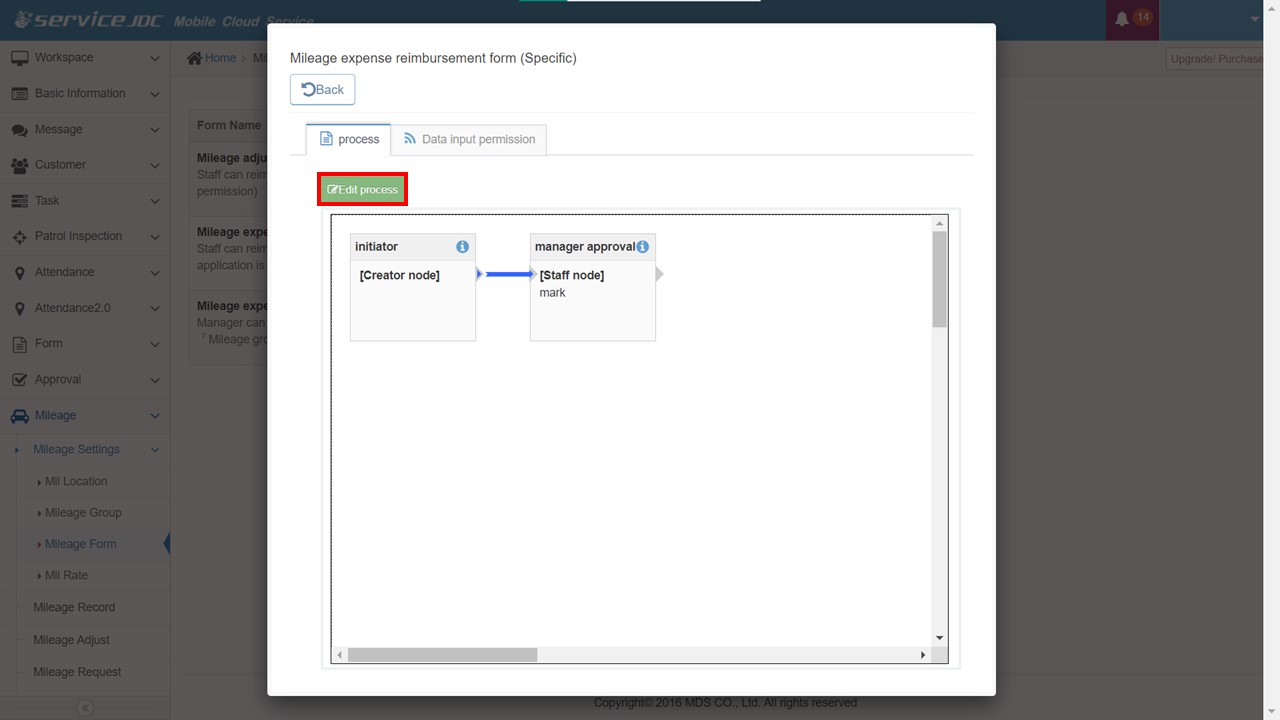
2. Under "Mileage >> Mileage Settings >> Mileage Form >> Reimbursement Form (Specific), click the "View" icon (make sure to enable this function first). In the approval process, design the required approval workflow.

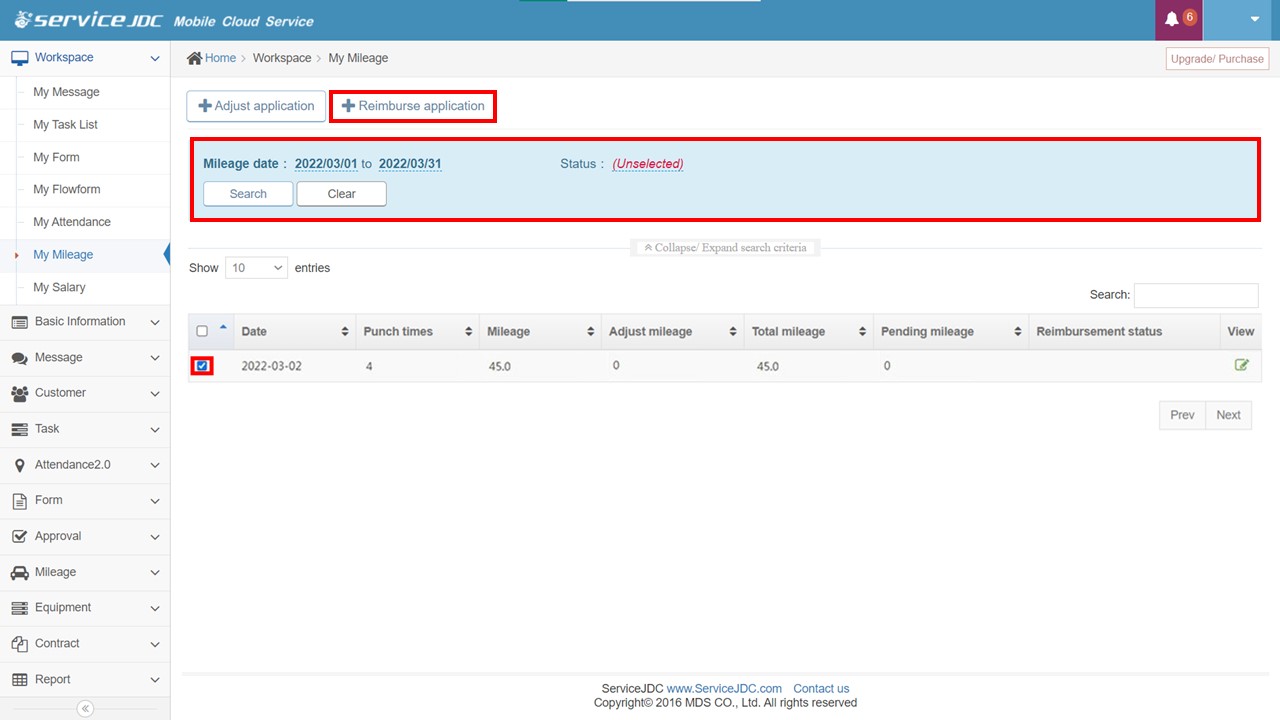
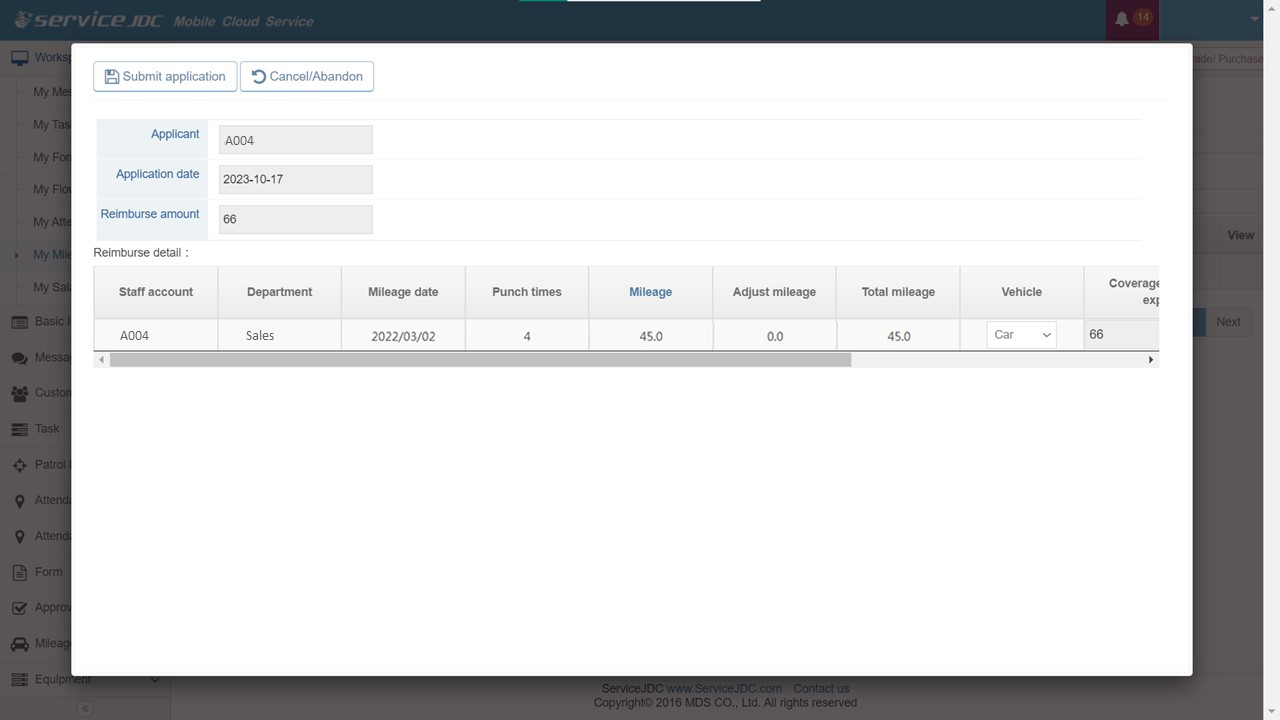
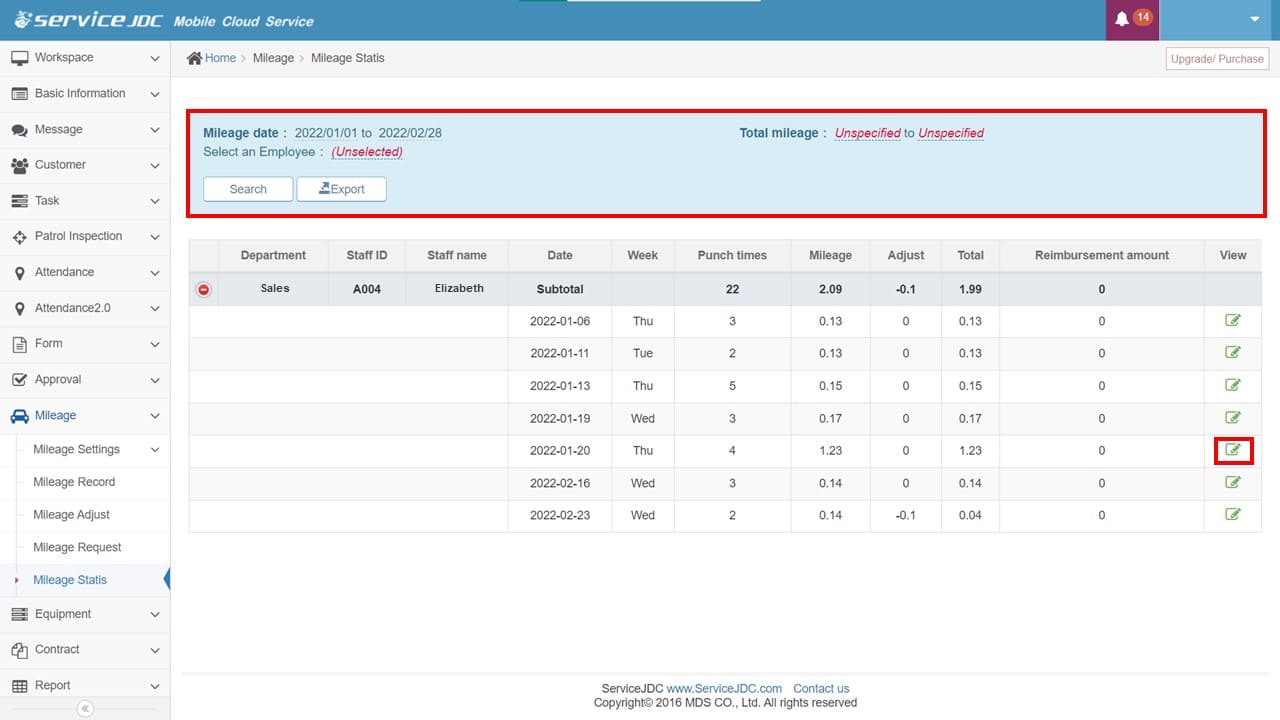
3. Managers within that mileage group can collectively submit reimbursement applications in Mileage >> Mileage Request.

  • On the web version:

Navigate to Workspace >> My Mileage. Enter the required information, check the desired reimbursement dates, and click "Reimbursement Application" to complete the mileage reimbursement form.

  • On the app:

Go to "More" and select "Search Mileage." Activate the "Reimbursement" mode, check the desired reimbursement dates, and click "Apply" to complete the mileage reimbursement form.

Yes, you can adjust the recorded mileage by submitting a mileage adjustment application. To enable this feature, you should set it up within Mileage >> Mileage Settings >> Mileage Form >> Mileage Adjust Application Form. Also, it would be helpful if you designed the required approval workflow.

  • On the web version:

Go to Workspace >> My Mileage. Enter the information for mileage adjustment, check the required adjustment dates, and click "Adjust Application" to complete the mileage adjustment form.

  • On the app:

Go to More >> Search Mileage. Click on the date that requires an adjustment, select "Mileage Adjustment," and fill out the mileage adjustment form.

  • On the web version:

Navigate to Workspace >> My Mileage. Enter the required search criteria to view your mileage and reimbursement status.

  • On the app:

Go to More >> Search Mileage. You can check your mileage. Activate the "Reimbursement" mode to display the reimbursement status.

Yes, you can view mileage check-in locations on a map through the web version.

  • For managers: Log in to ServiceJDC (the web version) as an administrator or mileage group manager account. Then, navigate to Mileage >> Mileage Statis, enter the desired search criteria, and click "View" to see mileage check-in locations on a map.

  • For Individuals: In the Workspace >> My Mileage, enter the search criteria and click "View" to see mileage check-in locations on a map.

Please note that you can't view records in map mode once a reimbursement has been made.